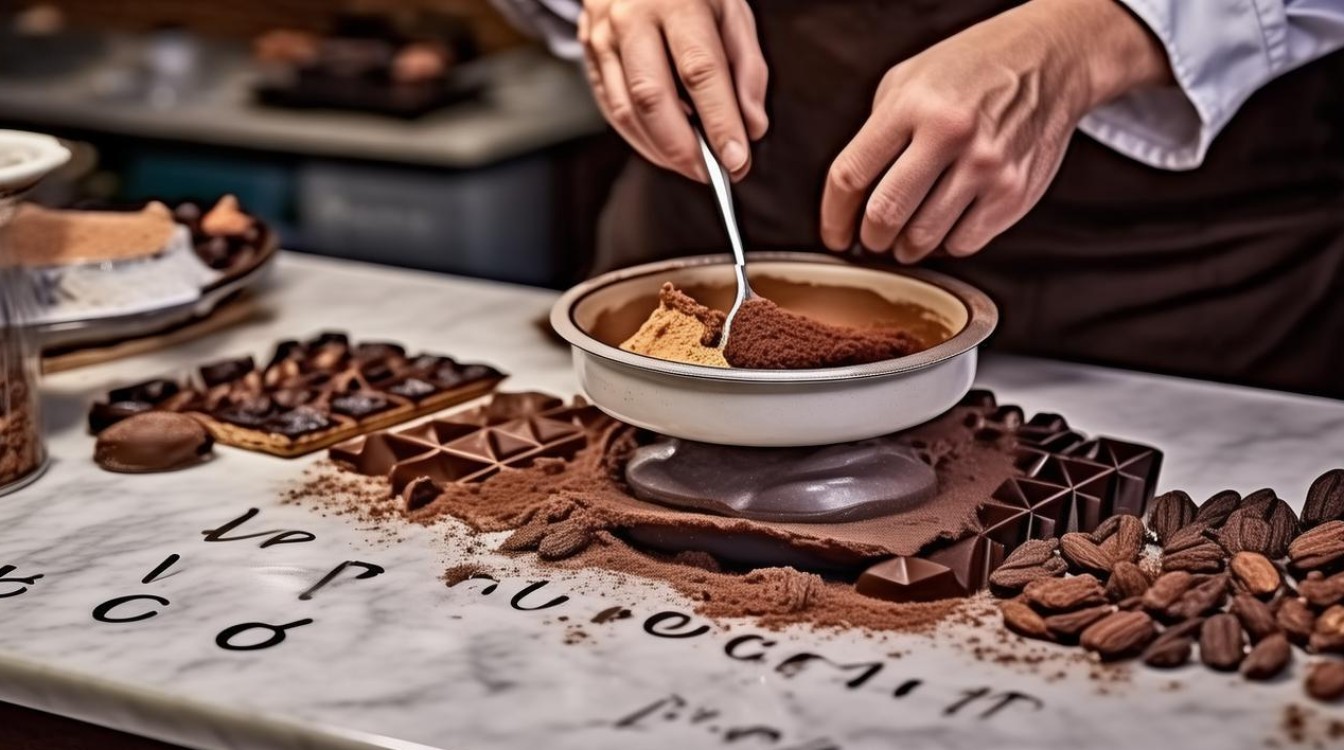
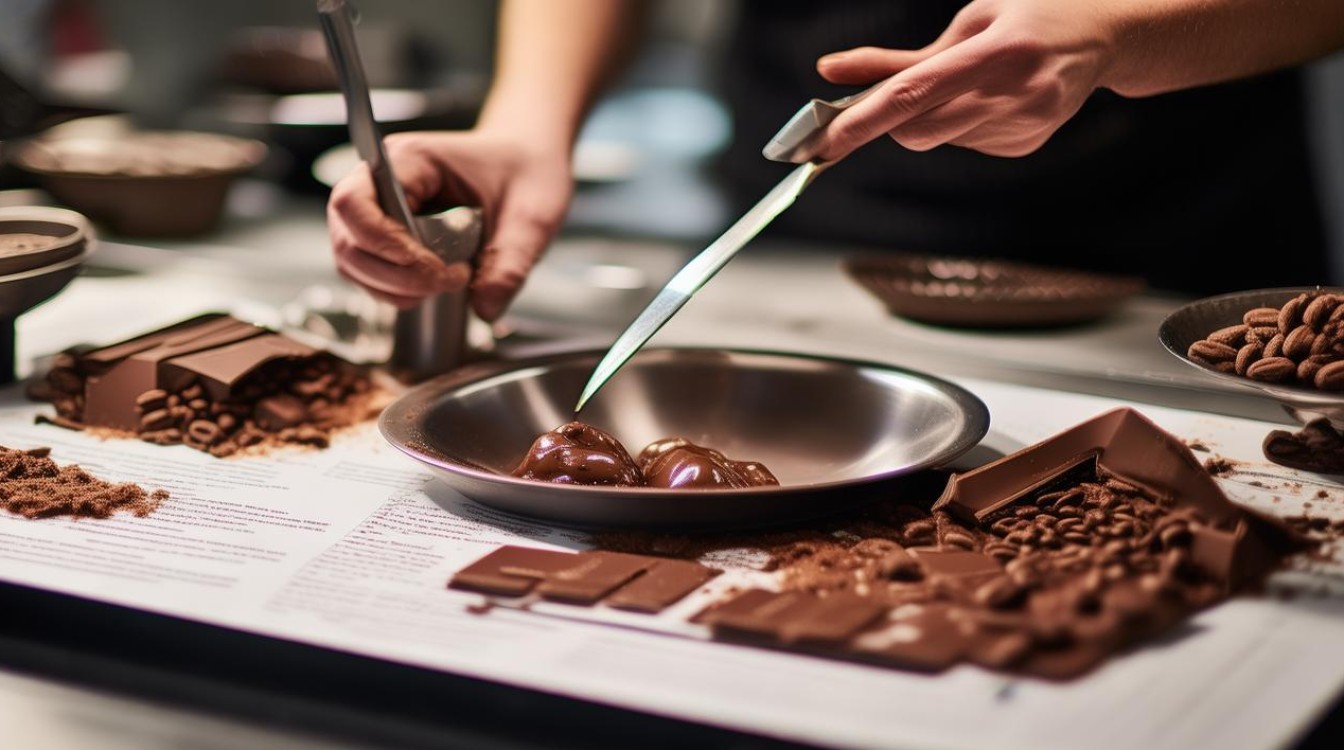
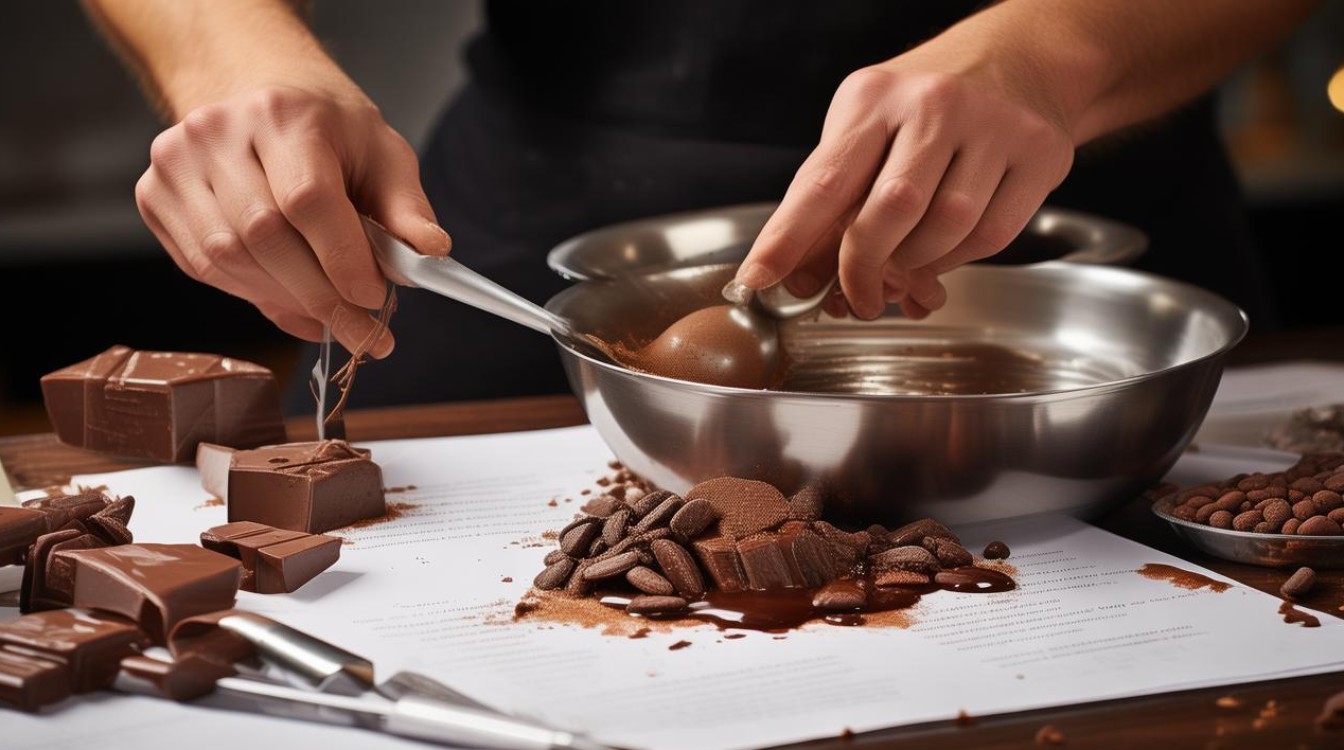
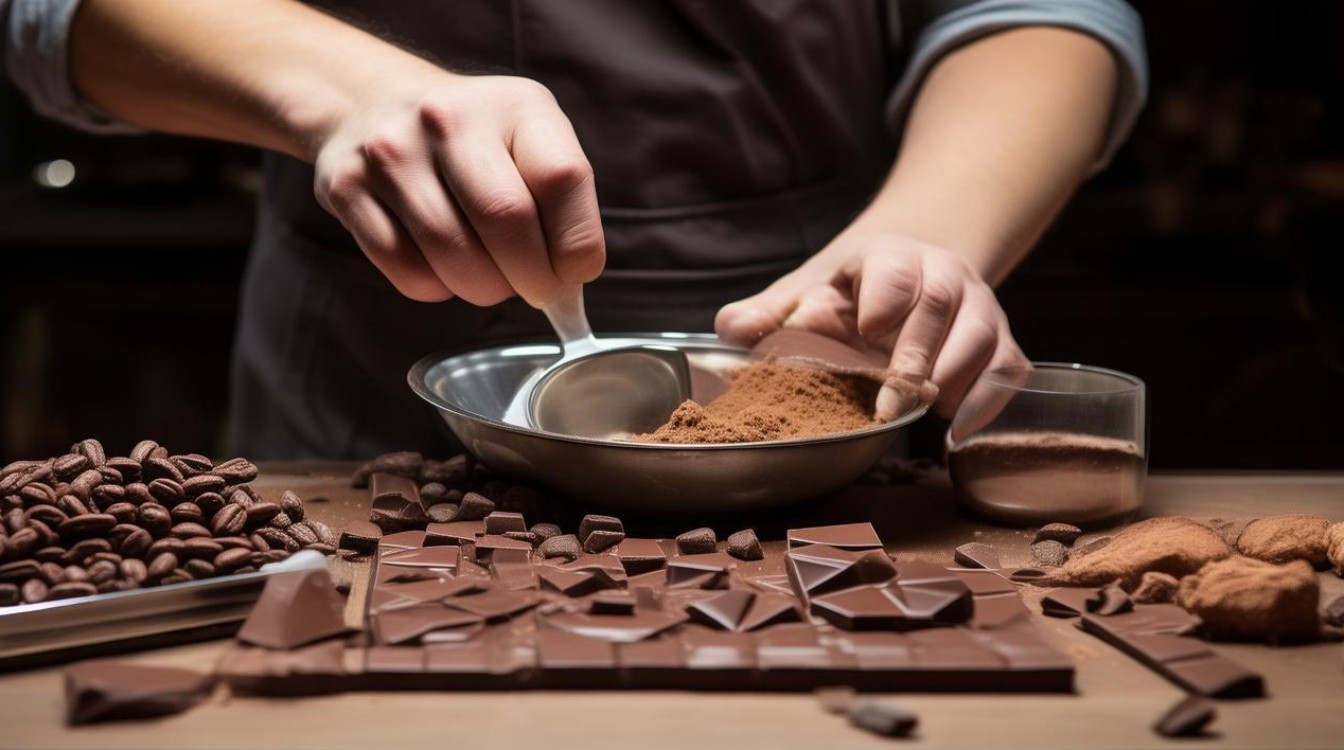
Chocolate is one of the most beloved treats in the world, enjoyed by people of all ages. Whether you prefer dark, milk, or white chocolate, the process of making it is fascinating. If you’ve ever wondered how chocolate is made, this guide will walk you through the steps in simple English, perfect for learners and chocolate lovers alike.

The History of Chocolate
Chocolate has a rich history dating back thousands of years. The ancient Mayans and Aztecs were among the first to cultivate cacao beans, using them to create a bitter drink. When Europeans discovered chocolate in the 16th century, they added sugar, transforming it into the sweet treat we know today. Modern chocolate-making combines traditional techniques with advanced technology to produce high-quality products.
Ingredients Needed for Homemade Chocolate
Before starting, gather these essential ingredients:
- Cacao beans or cocoa powder – The foundation of all chocolate.
- Cocoa butter – Adds smoothness and richness.
- Sugar – Adjust the amount based on preference.
- Milk powder (optional) – For milk chocolate.
- Vanilla extract or other flavorings (optional) – Enhances taste.
Special equipment like a double boiler, chocolate molds, and a food processor may also be helpful.
Step 1: Roasting the Cacao Beans
If using whole cacao beans, roasting is the first step. Spread the beans evenly on a baking tray and roast at 120°C (250°F) for 20-30 minutes. This process enhances flavor and removes moisture. Once roasted, let them cool before removing the outer shells.

Step 2: Grinding the Beans into Cocoa Mass
After roasting, grind the beans into a fine paste called cocoa mass or cocoa liquor. A food processor or specialized grinder works best. The heat from grinding melts the cocoa butter, creating a smooth, liquid consistency.
Step 3: Separating Cocoa Butter and Cocoa Powder
The cocoa mass can be pressed to separate cocoa butter from cocoa solids. The remaining dry solids become cocoa powder, while the extracted fat (cocoa butter) is used to improve texture in chocolate.
Step 4: Mixing Ingredients
Combine cocoa mass, cocoa butter, sugar, and milk powder (if making milk chocolate) in a double boiler. Heat gently while stirring continuously to avoid burning. The mixture should be smooth and glossy.
Step 5: Tempering the Chocolate
Tempering is crucial for achieving a shiny finish and crisp snap. Melt the chocolate to 45-50°C (113-122°F), then cool it to 27°C (81°F) before reheating slightly to 31-32°C (88-90°F) for dark chocolate or 29-30°C (84-86°F) for milk and white chocolate. This process stabilizes the cocoa butter crystals.

Step 6: Molding and Cooling
Pour the tempered chocolate into molds and tap gently to remove air bubbles. Let it cool at room temperature or in the refrigerator for 15-20 minutes. Once set, carefully remove the chocolates from the molds.
Step 7: Storing Chocolate Properly
Store homemade chocolate in an airtight container at a cool, dry place (16-20°C or 60-68°F). Avoid refrigeration unless necessary, as moisture can cause sugar bloom, affecting texture.
Fun Variations to Try
- Dark Chocolate – Use 70% or higher cocoa content for an intense flavor.
- Milk Chocolate – Add more milk powder and reduce cocoa mass.
- White Chocolate – Skip cocoa mass and use only cocoa butter, sugar, and milk powder.
- Flavored Chocolate – Experiment with spices, nuts, or dried fruit.
Making chocolate at home is a rewarding experience. With patience and practice, anyone can create delicious, high-quality chocolate. Whether for personal enjoyment or as a gift, homemade chocolate always brings joy.
Chocolate-making is both an art and a science. By understanding the process, you gain a deeper appreciation for every bite. The next time you enjoy a piece of chocolate, remember the careful steps that went into its creation.


